12.7.21
AUDIO EVISIONS
Assignment
For this major project, you will be tasked with creating an abstract audio visualization experience using 3D modeling and sound reaction. Specifically, you will need to create a 45-60 second long animation in which sound and audio are visually affecting objects and elements within your project .
For this final project, I am using a song my friend made called . This is an instrumental track that I absolutely love, so I'm very grateful that he's letting me use it! When I first heard this song, I visualized a car driving along a road through different scenes. I honestly wasn't sure what visuals I wanted to represent the song with, and after much deliberation I decided on using inspiration from our assignment. See the final video and process below!
Scene 1 Process
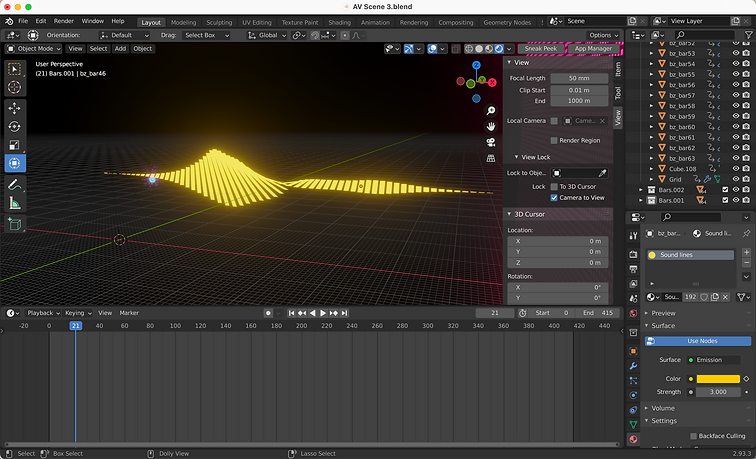
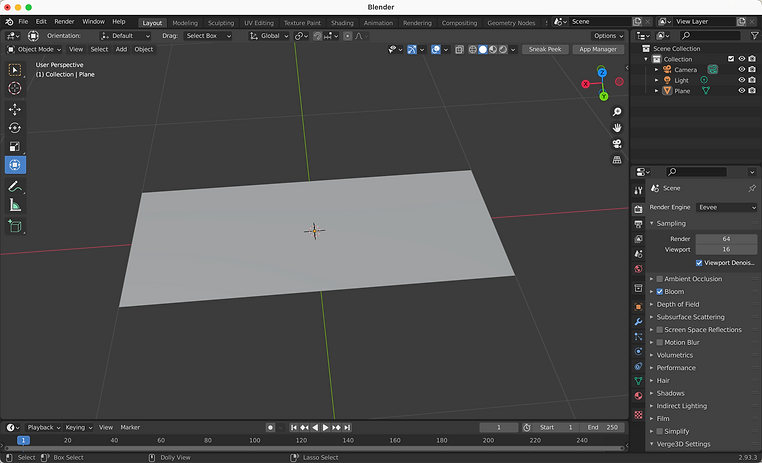
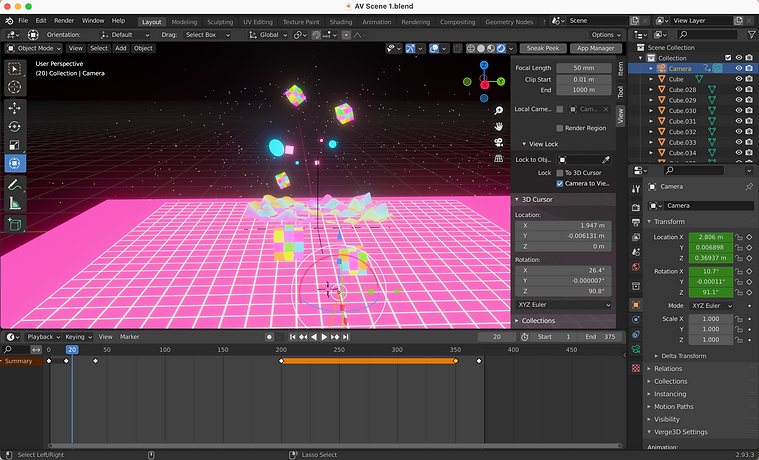
For scene 1, I started by following tutorial from Ducky3D on YoutTube. I followed a few of his tutorials for this project as well as a few others from other YouTubers. I added my audio first then added a plane to the scene. After that, I subdivided it then added a displacement modifier and chose clouds for the texture. I made it shade smooth then followed his process to add various nodes in the shading tab. After getting the basic structure, I altered the settings until I was happy with how everything looked. Finally I baked sounds to F curves so the height of the wave would be affected by the sound.


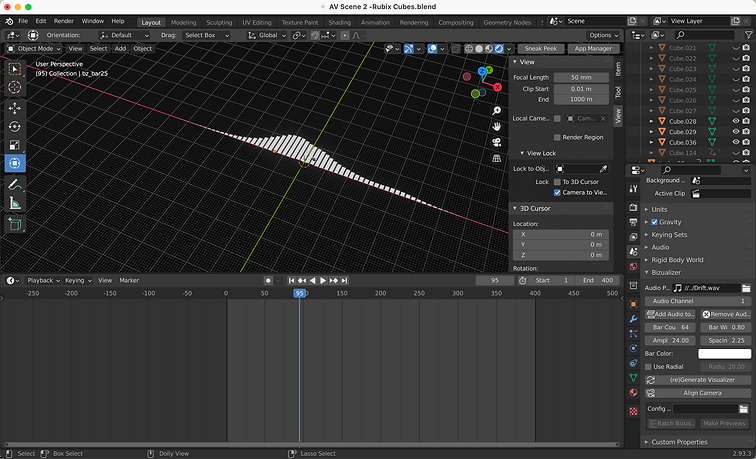
After that, I wanted to add rubix cubes to my scene. I started by adding a cube then sized it down. After that, I duplicated it two times to complete the row then duplicated the row two times so I had nine cubes. I duplicated the nine cubes twice so I had a complete rubix cube. I made three more rubix cubes using this process progressively making them smaller then colored them to match my wave.


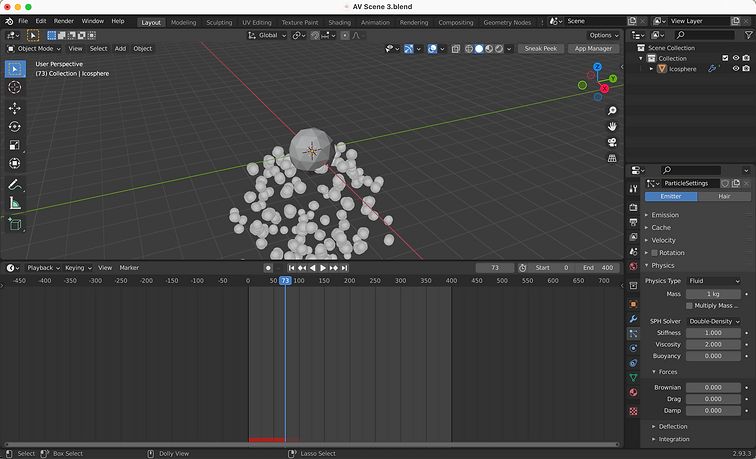
The next element in this scene is the particle system. I followed another from Ducky 3D. I started by adding two ico spheres and added a particle system to one of them selecting the other ico sphere as the object that would be emitted. I added a displace modifier with the cloud texture again then played around with it until the particles were spread out nicely. I changed the scale and scale randomness then baked the sound to F curves so the particles would move to the sound. I finally added rotation so that the whole system would move in a circle when played.


The last finishing touches came from the environment. I added a grid, floor that changes colors, and other floating shapes to fill in the empty space. I also added text with the song name and artist in the beginning and set my camera in the positions I wanted so that it slowly moved through the scene.
Scene 2 Process
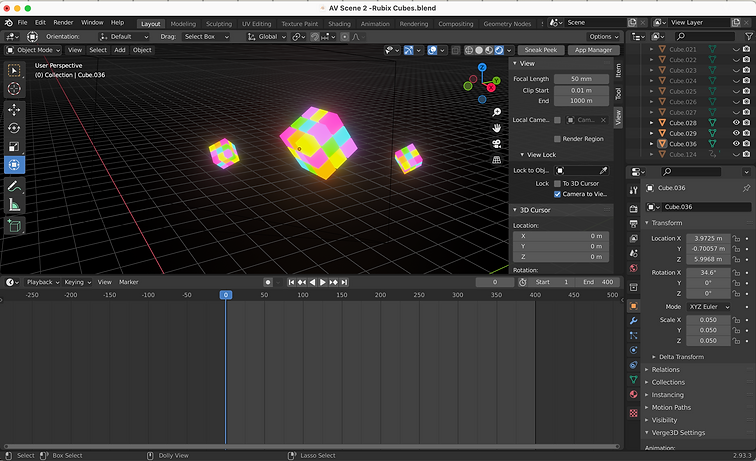
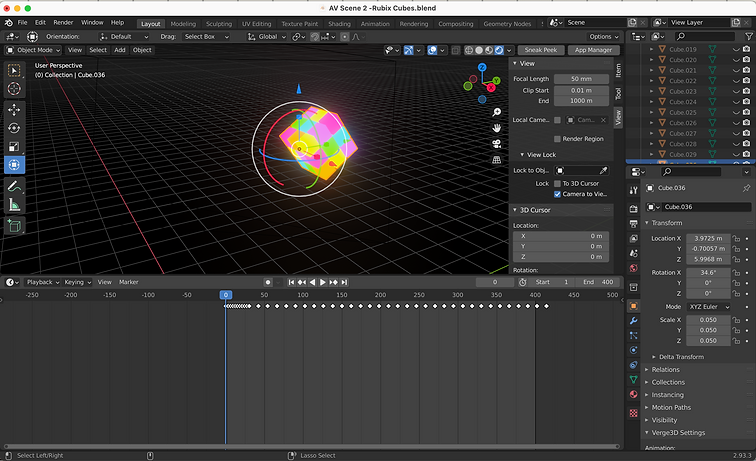
For scene 1, I wanted to pick up where I ended with scene 1 with the rubix cube in the center. I added two more to fill the empty space on either side. This was where the song gets more intense with the drums, so I added keyframes for the color of each cube in the rubix cube and had them change to the beat.

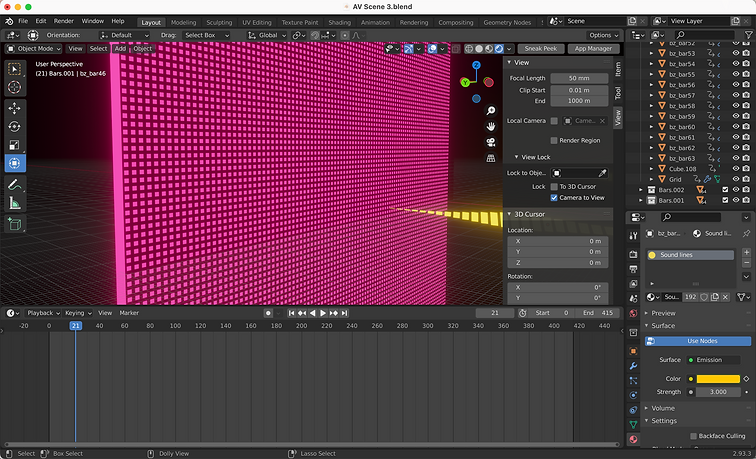
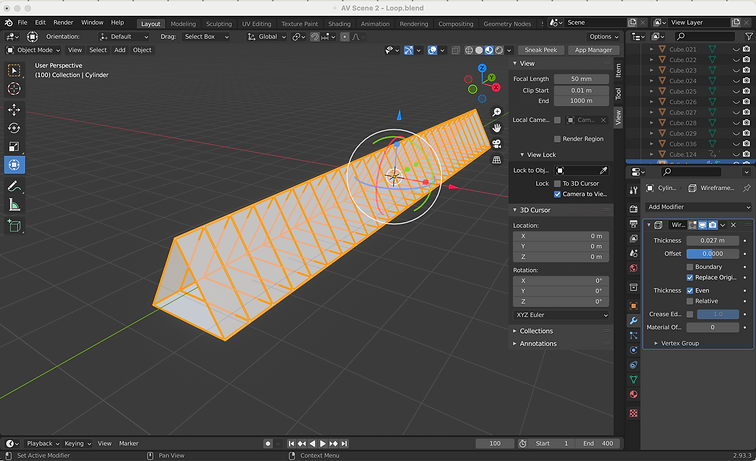
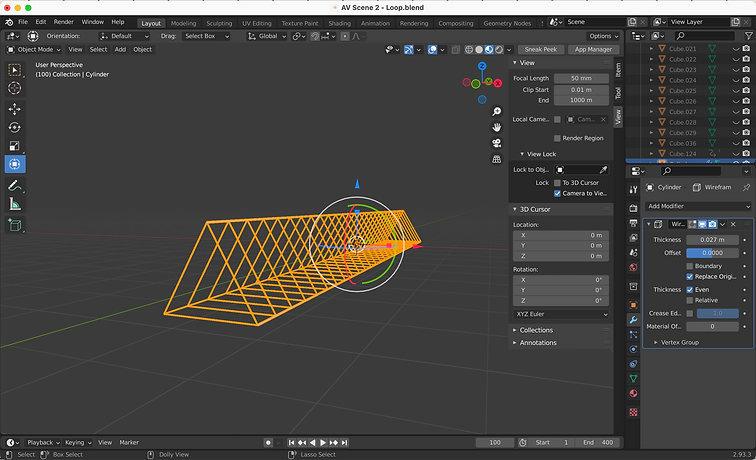
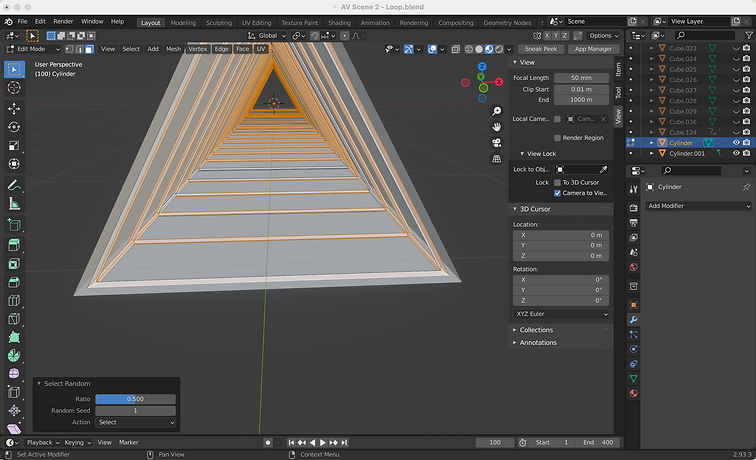
After that, I wanted to have some movement in the scene with the camera, so I decided to do an infinite loop. I followed tutorial from Ducky 3D. I started by adding a cylinder but turned down the number of segments to three so that it created a triangle. I removed the faces on either end so it was open. After that, I duplicated the tunnel and used the loop cut tool to create 26 segments on the tunnel. I added a wireframe modifier and scaled the original triangle up. Next, I used the random selection in edit mode to select different faces on the wireframe and apply different colored materials to the frame. I turned these objects into a collection, duplicated them multiple times, then added keyframes for rotation.


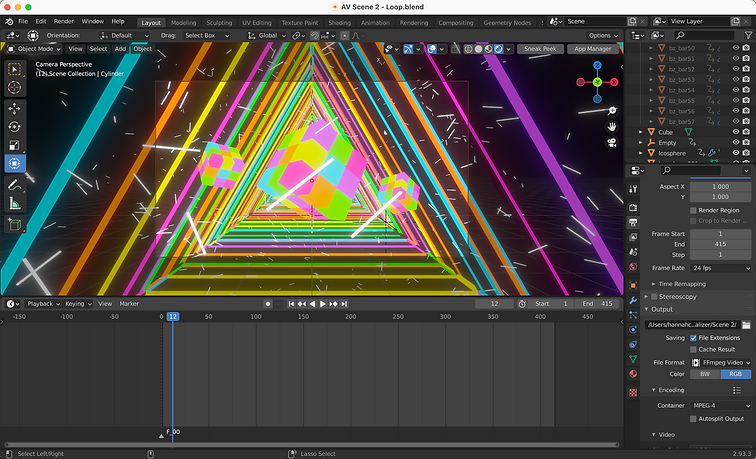
The last things I did for this scene were add another particle system as I did in scene 1, but I wanted the shape to be different. I baked it to F curves and then I adjusted my camera position to how I wanted for the scene. I made it rotate quickly at the end to transition into my final scene.
Scene 3 Process
For my final scene, I wanted to include fireworks, so I used three particle systems applied to an ico sphere. i played around with the field weights, render settings, and velocity for each one and made sure they were all a little different. In order to get the burst effect, I made the lifetime only one frame long. I duplicated this and changed the colors to orange, purple, and green then duplicated each of these so that I had four fireworks total. I had them go off in turn with a specific part of the song.

For the audiovisual part, I followed a from Mr. 3D using an add-on called Bisualizer. After installing the Bisualizer add on, under settings you select the sound you want to use then generate a visualizer. I changed the material type (emission to match the rest of my scene), then selected a bar and added a mirror modifier over the y-axis. I rotated each of my bars by increments of 5 degrees along the x axis so it created a cool spiral effect. I also added keyframes so that the color gradually changed throughout the scene. To finish things out, I added a black grid and plane that also changes colors and added it to the end of the audio visualizer.